
If you have installed the Tiny TUYA plugin from Xenomes (https://github.com/Xenomes/Domoticz-TinyTUYA-Plugin) or you are planning to do so … then I have good news, and I have bad news.
The good news is … it works perfectly!
The bad news is that you still have some groundwork todo at the Tuya side. This document is a step by step guide to get this done.
What you need to do is: setup two accounts:
-
a Developer account, this is for creating, managing and testing devices/projects.
-
an App account, for end users to control smart devices.
Both accounts can have the same email and password (but probably a bad idea) but they live in different realms. At the end of this document you will have linked your phone with the App to the development platform. You will add devices with the App, after they have been added you will see them in the development platform.
For the App I use the Tuya – Smart Life Smart Living app (Orange Icon) from Tuya Smart Inc. There is also (on iOS) an app SmartLife – Smart Living (Blue Icon) from Volcano Technology Limited. That one seems to work as well, but I have no experience with it. My Advice, take the Orange one.
Setting Up a Tuya App Account
Install the Tuya – Smart Life Smart Living app (Orange Icon) from Tuya Smart Inc. from the store. Start up the App and create a new Account. Once inside the app, goto your Profile (icon right hand bottom). It might be a good idea to change your name and icon. Also double check your timezone.
At the top you’ll find 3 icons; AI, Scan and Settings. Remember the middle one … Scan.
Setting Up a Tuya Developer Account
First goto https://developer.tuya.com/en/docs/iot/oem-app-data-center-distributed?id=Kafi0ku9l07qb and search for your country and to which Data Center it is linked (Netherlands uses Central Europe Data Center). Remember this since you need this during setup of your Developer Account.
Now goto https://auth.tuya.com
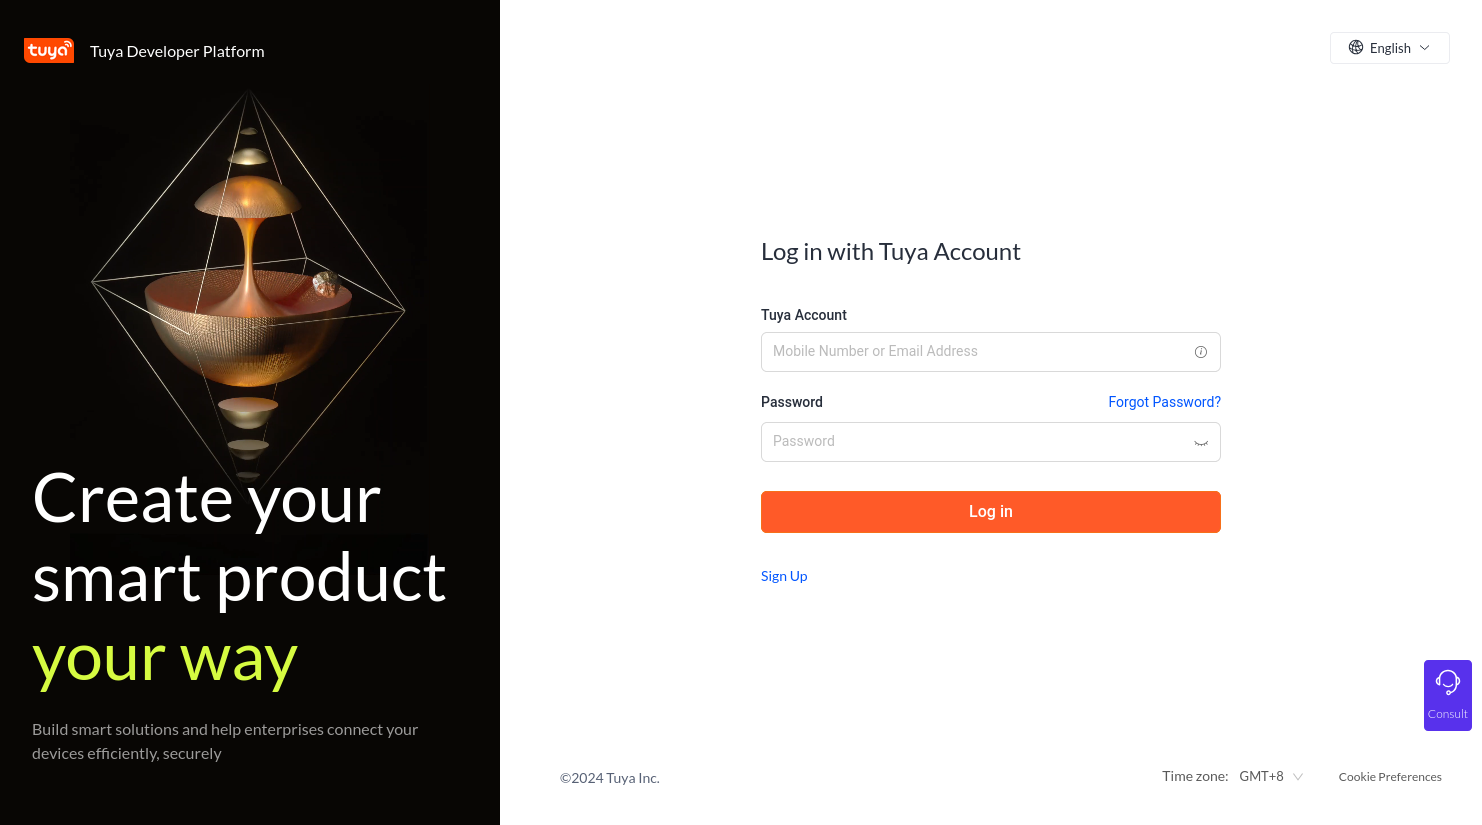
Click on [Sign Up]
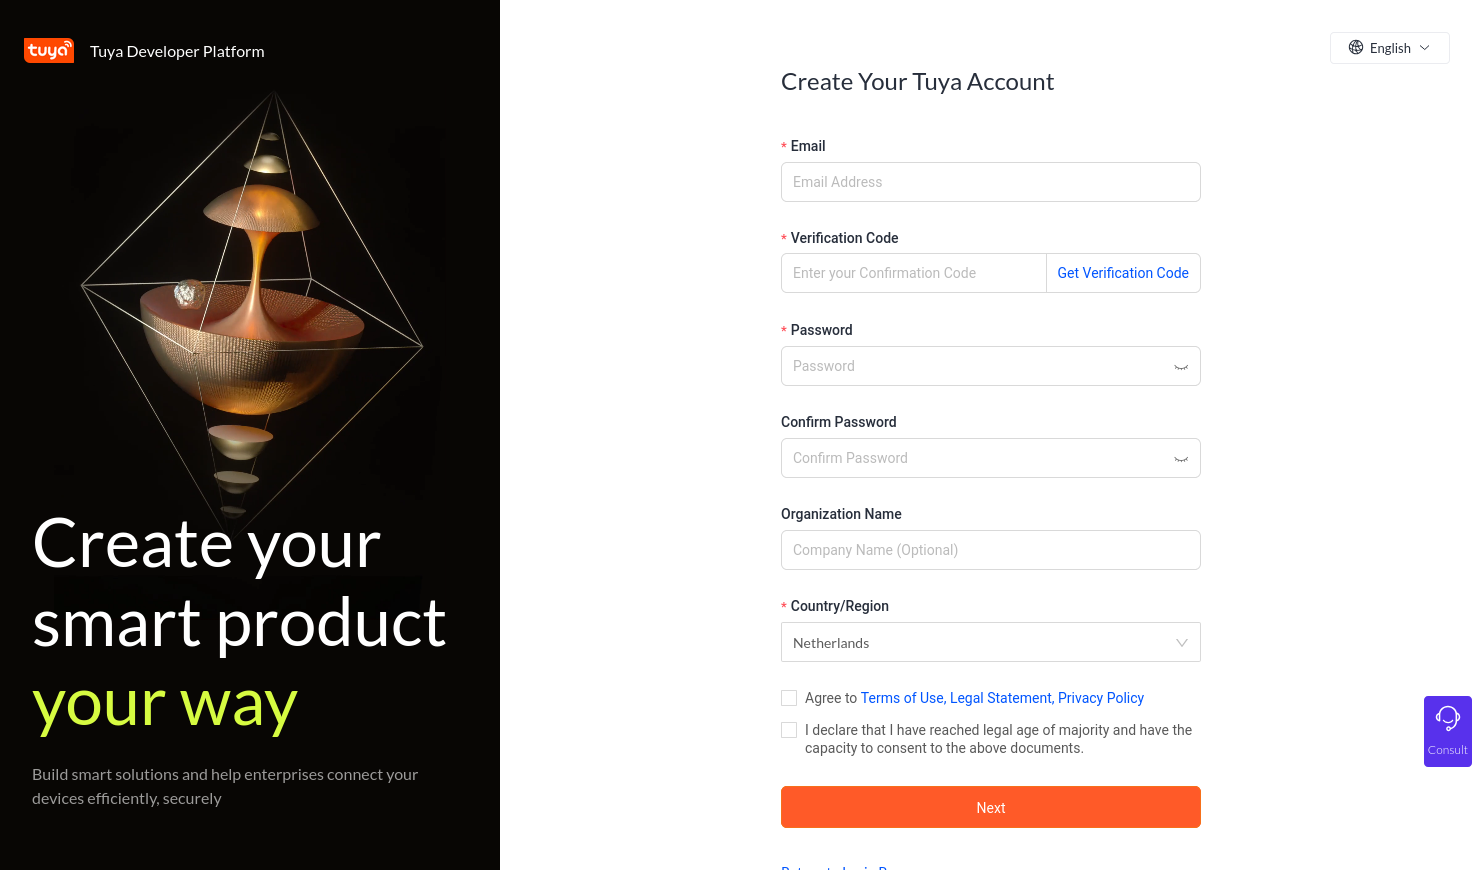
Fill in the blanks. Remember to get the verification code (which is send to you to the Email you have entered. After that press [Next].
This will bring you to the login screen (bookmark this one for future use):
Login with the settings you have set and press [Log in].
Take the beginners guide (knowledge is power). Next you will be asked for the Account Type settings. Skip this for now by pressing on [Skip this step ….] at the bottom:
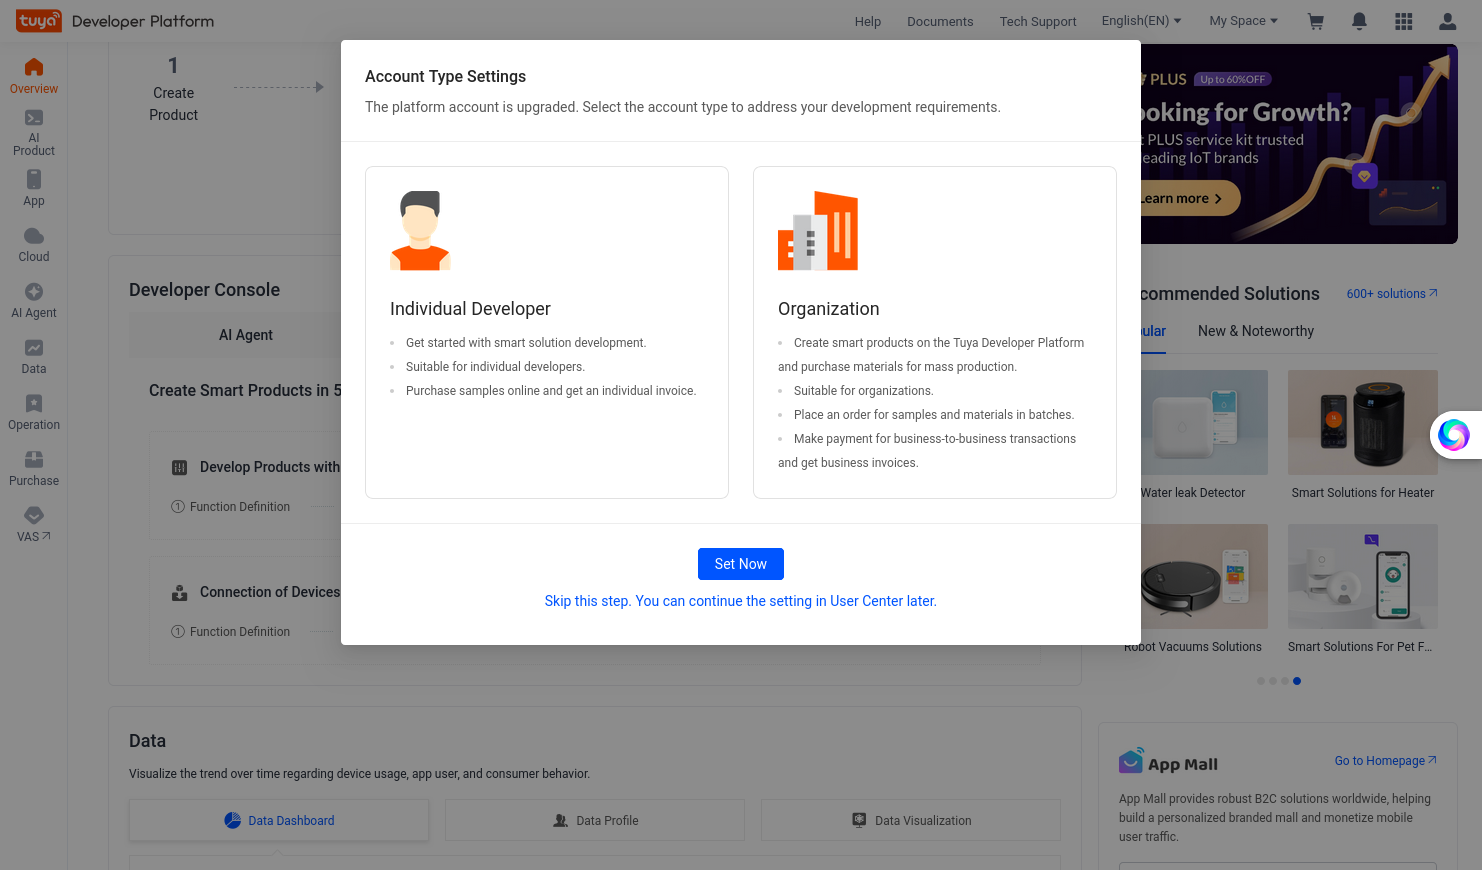
This will bring you to:
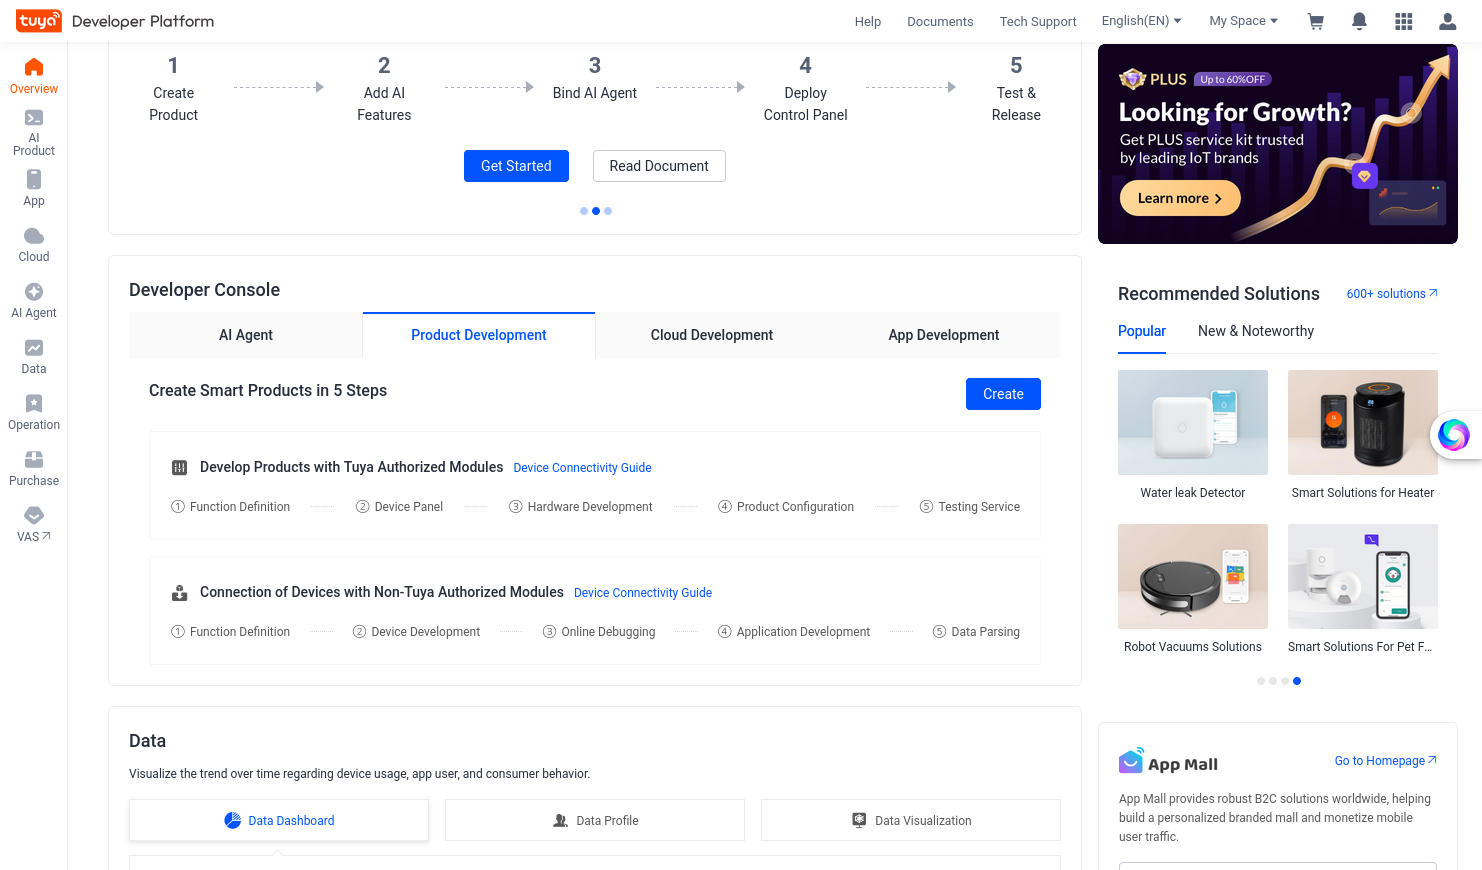
On the left click on the [Cloud icon], then select from the pop-up, under Cloud Project, Project Management. Click now on [Create Cloud Project].
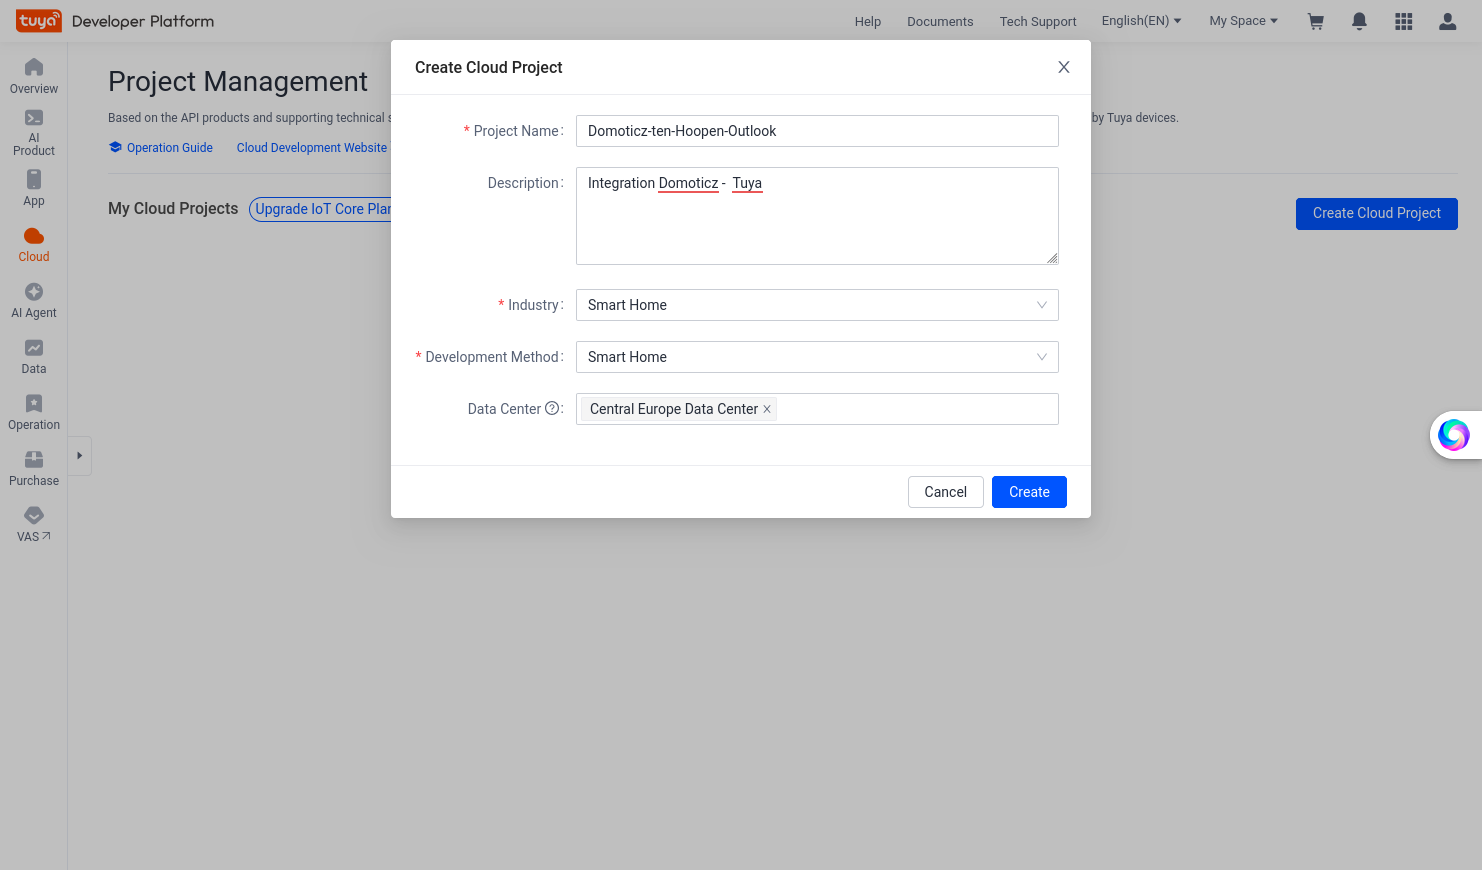
Fill in the blanks, take above as an example BUT make sure you enter the data center (for your country) as you have found out int the very beginning!!!
Press [Create]. Then set the Authorize API Services as shown in following screenshot:
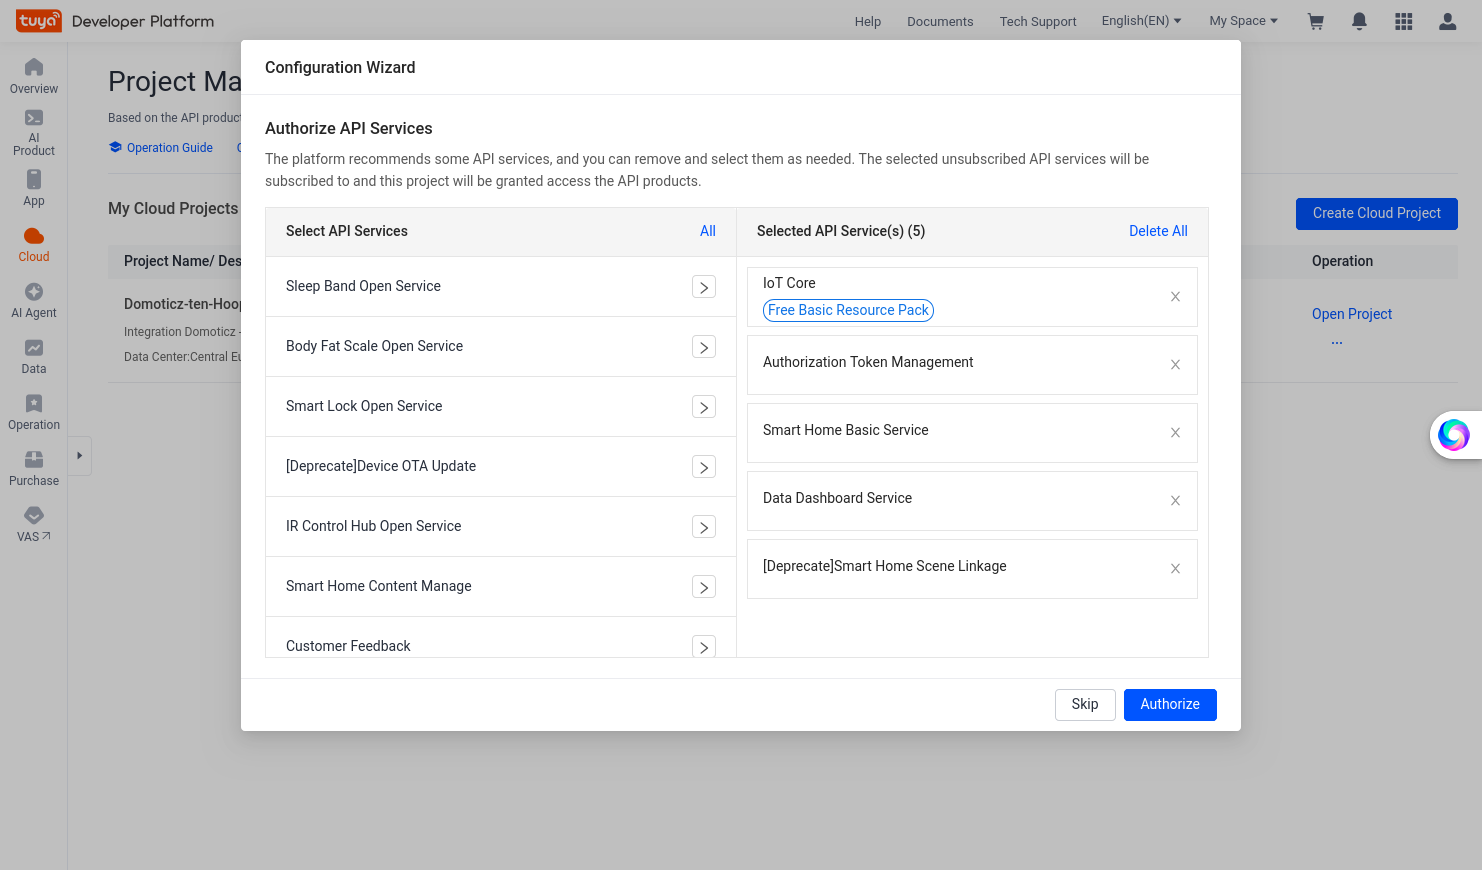
Click [Authorize] which then will bring you to:
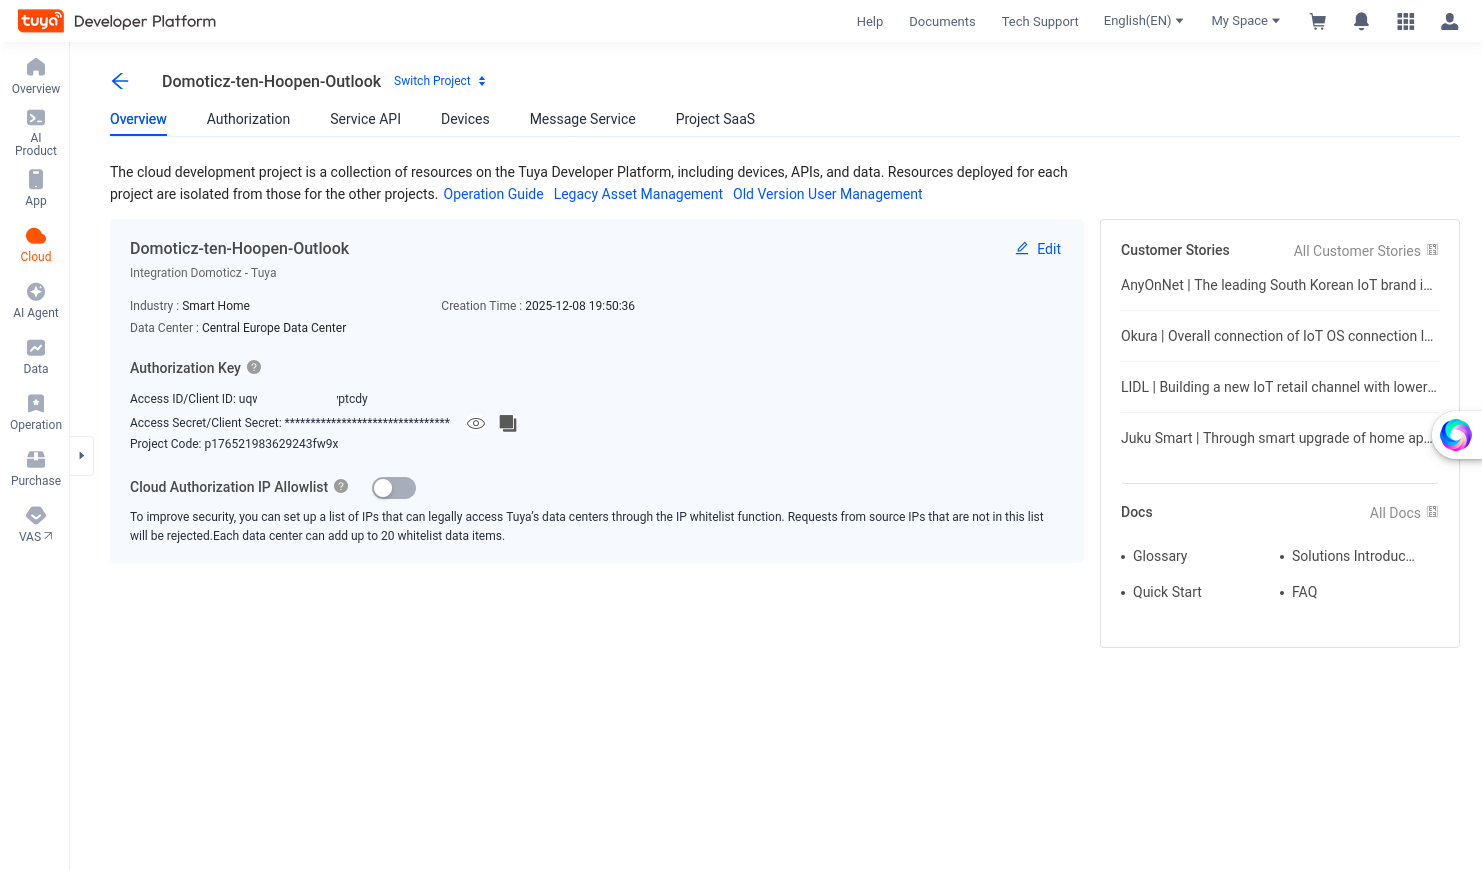
Please note the Access ID/Client ID and Access Secret/Client Secret, which you will need during the configuration of Tuya in Domoticz. Mark the little eye, by pressing on this eye you will get the Access Secret/Client Secret in a readable format. There is also a copy icon, if you press the copy icon it will be copied so you can paste it.
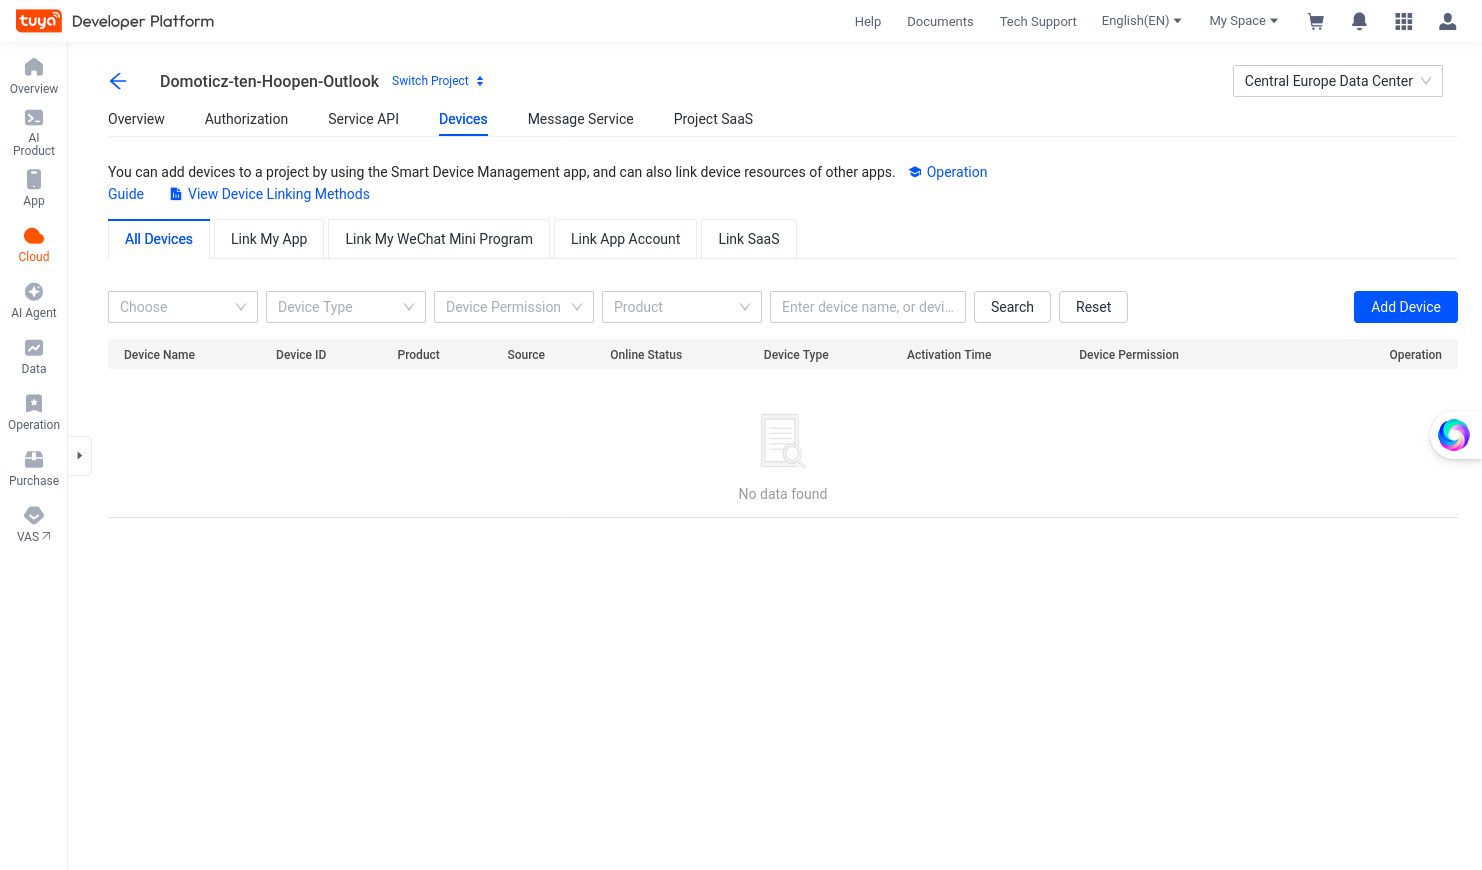
And press on the tab Link App Account:
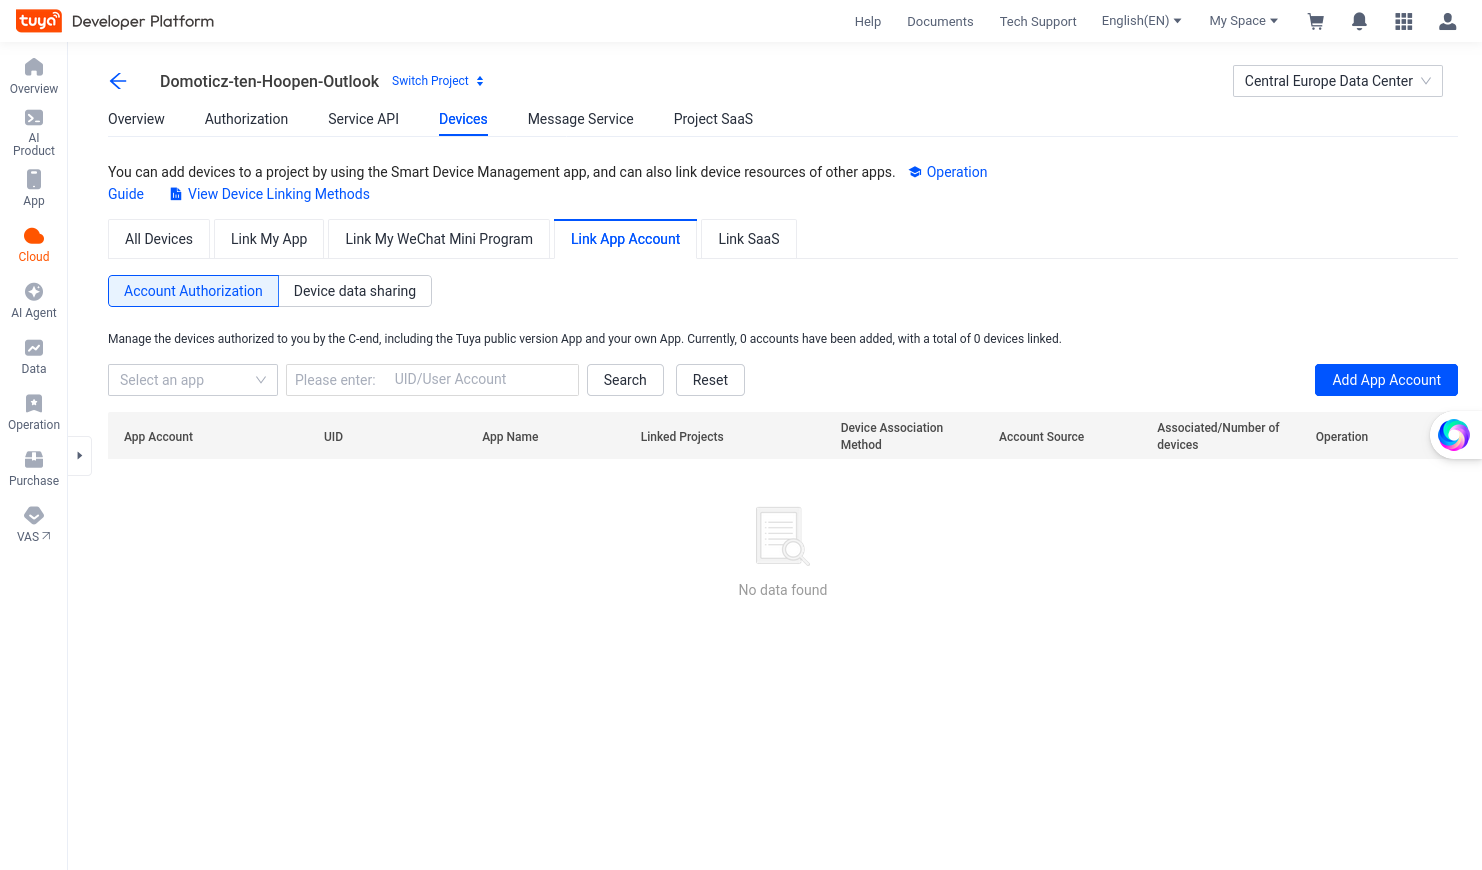
Press on the button [Add App Account] and select from the dropdown [Tuya App Account Authorization]. This will pop-up a QR Code
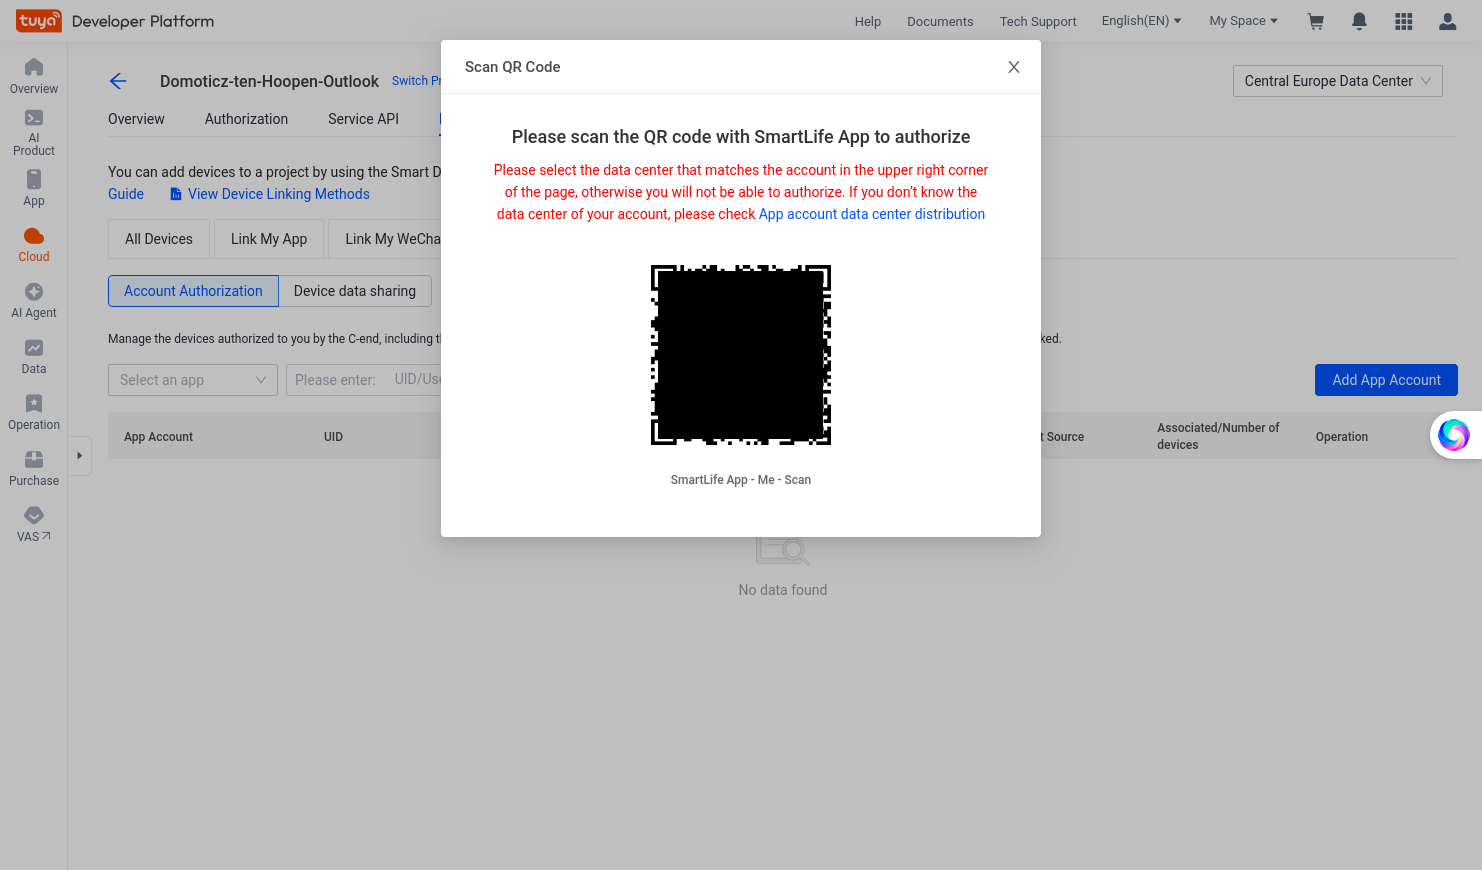
Take your mobile, start the Tuya App and login with your App account email and password (if you were not yet logged in). Goto your profile, righthand bottom. At the top you will see now 3 icons, select Scan (middle one) and scan the QR Code
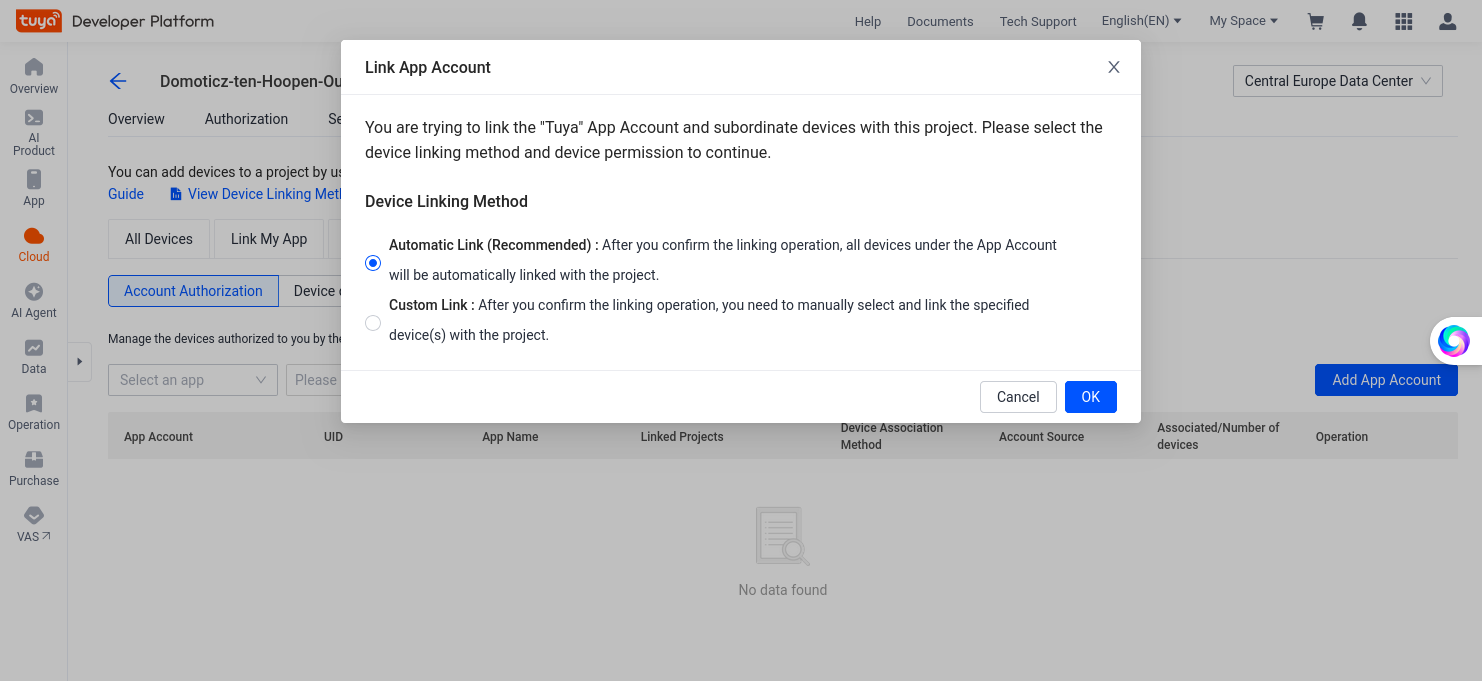
Press [OK]
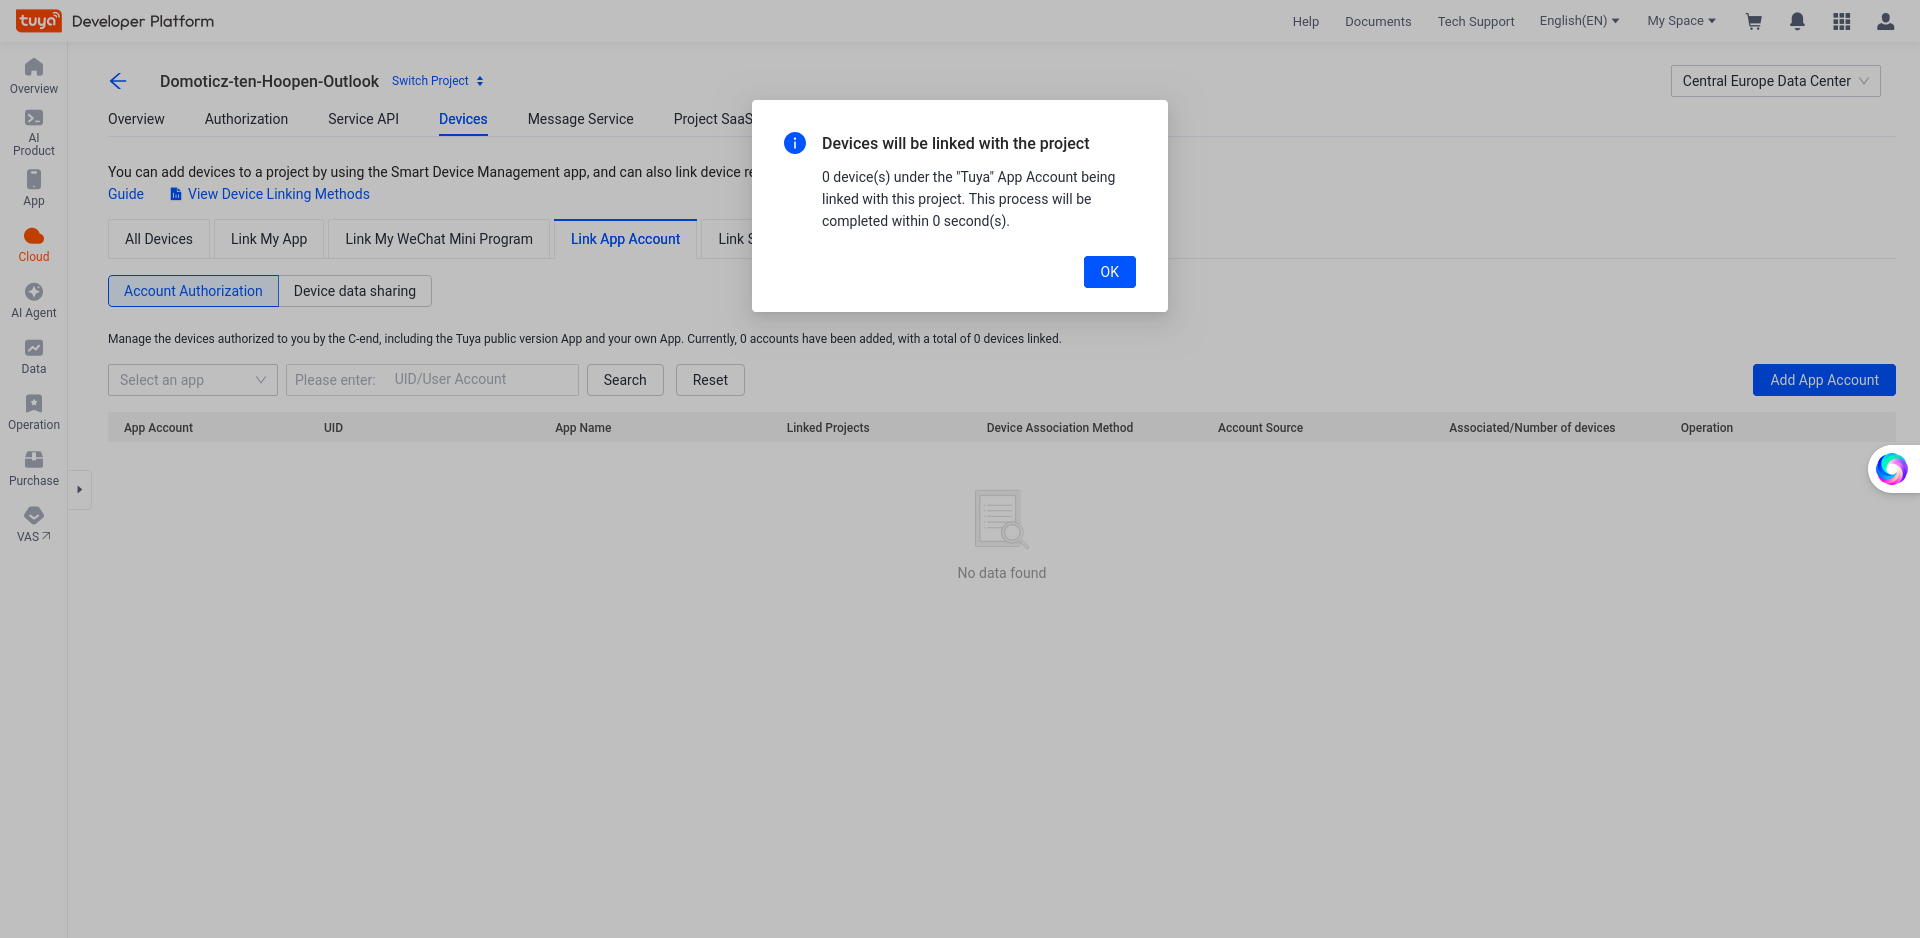
Press [OK].
You now have linked the App to your Tuya Development Environment. Add devices with the app and they will show up in the Development Platform.
Click ion Cloud -> Cloud Services
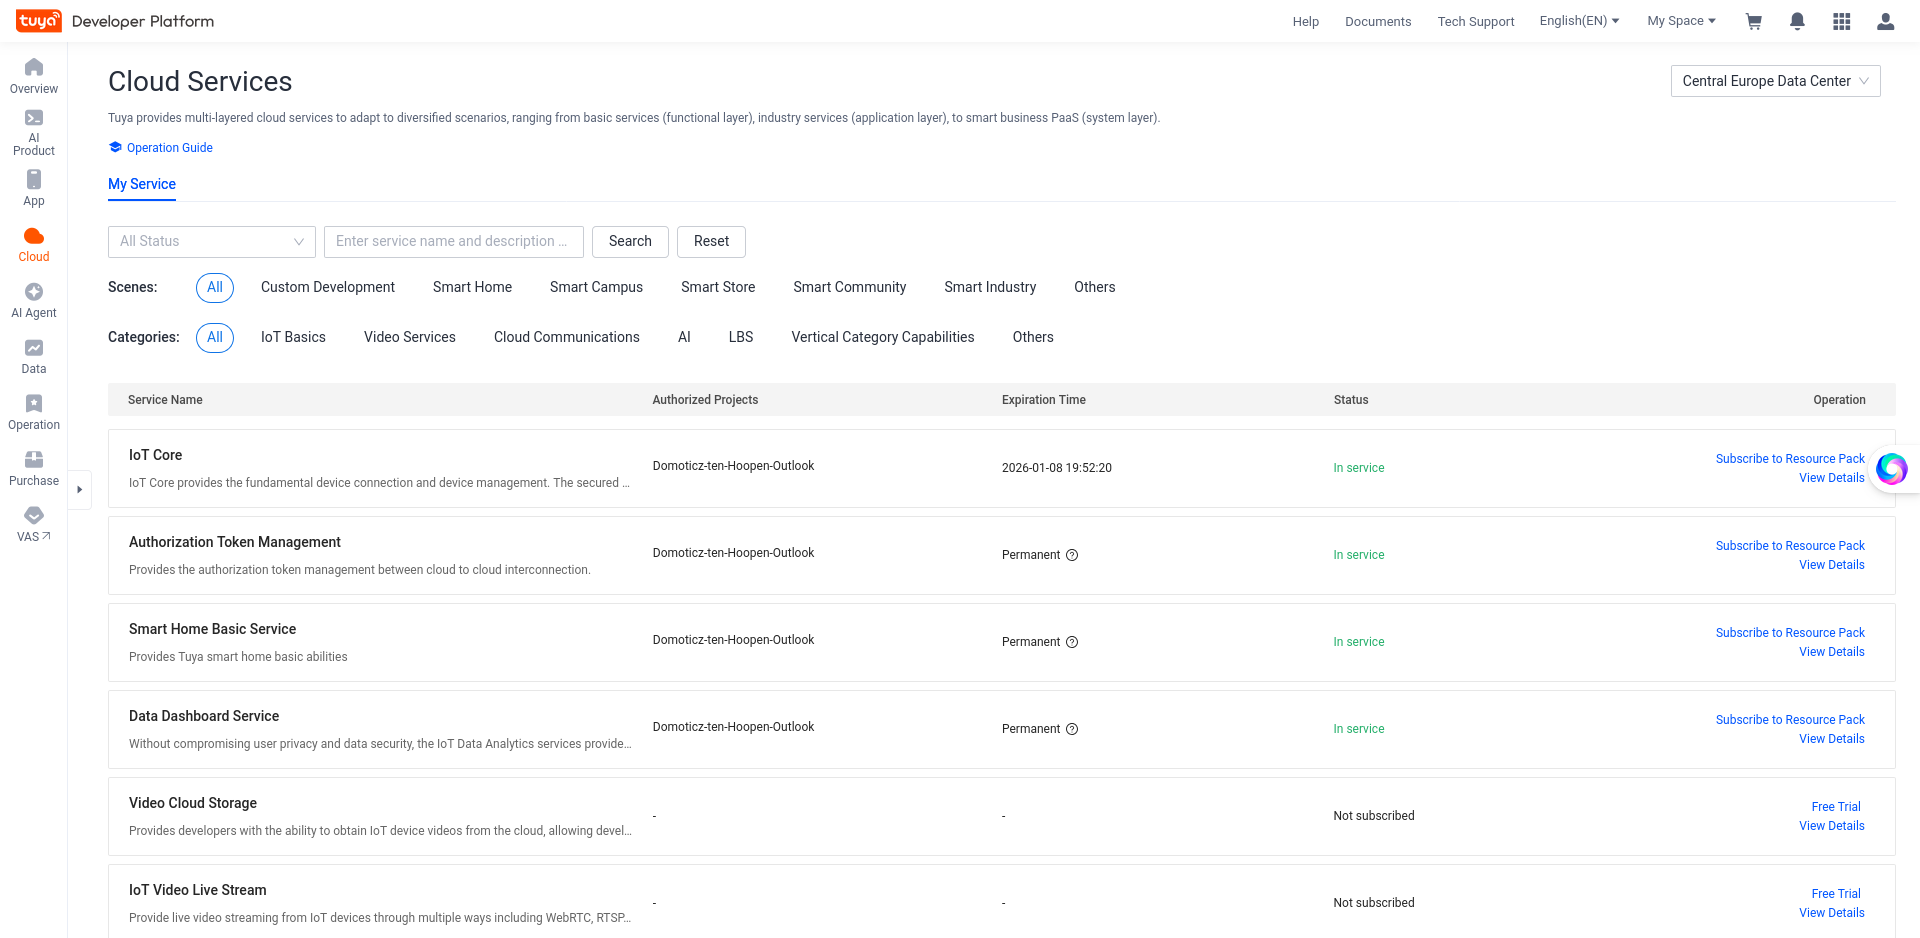
And scroll down to Device Distribution box
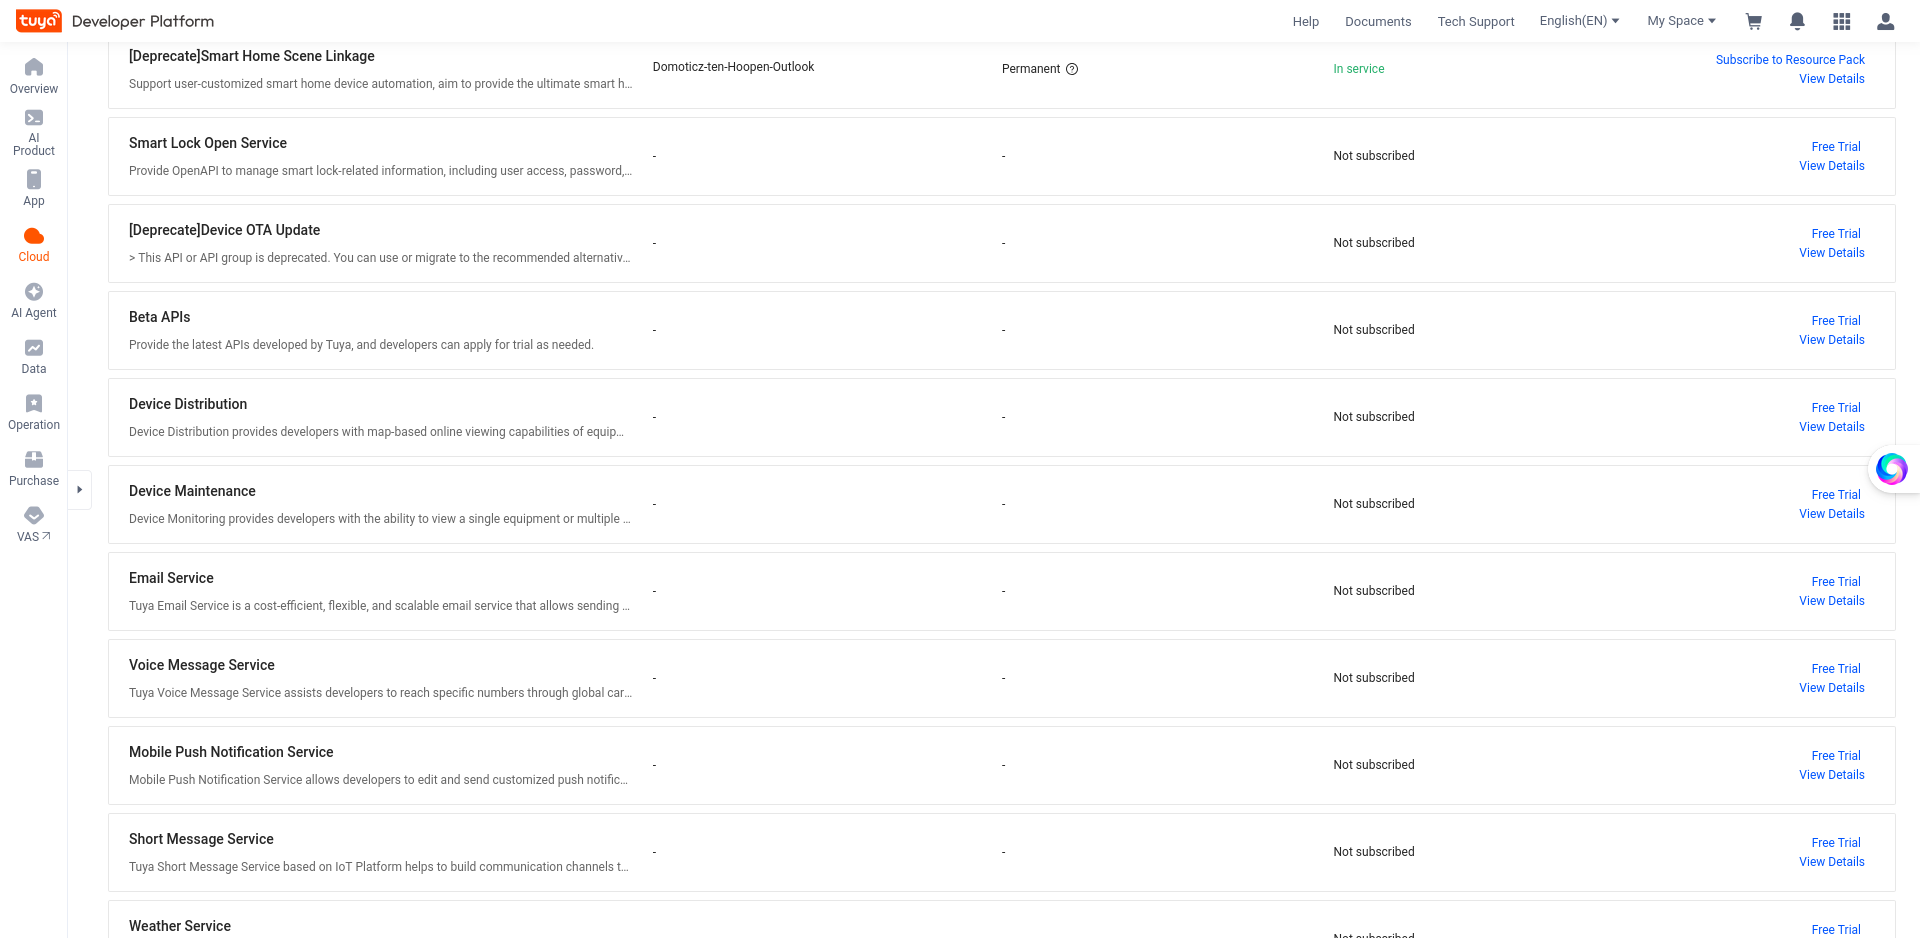
In the Device Distribution Box click on Free Trial
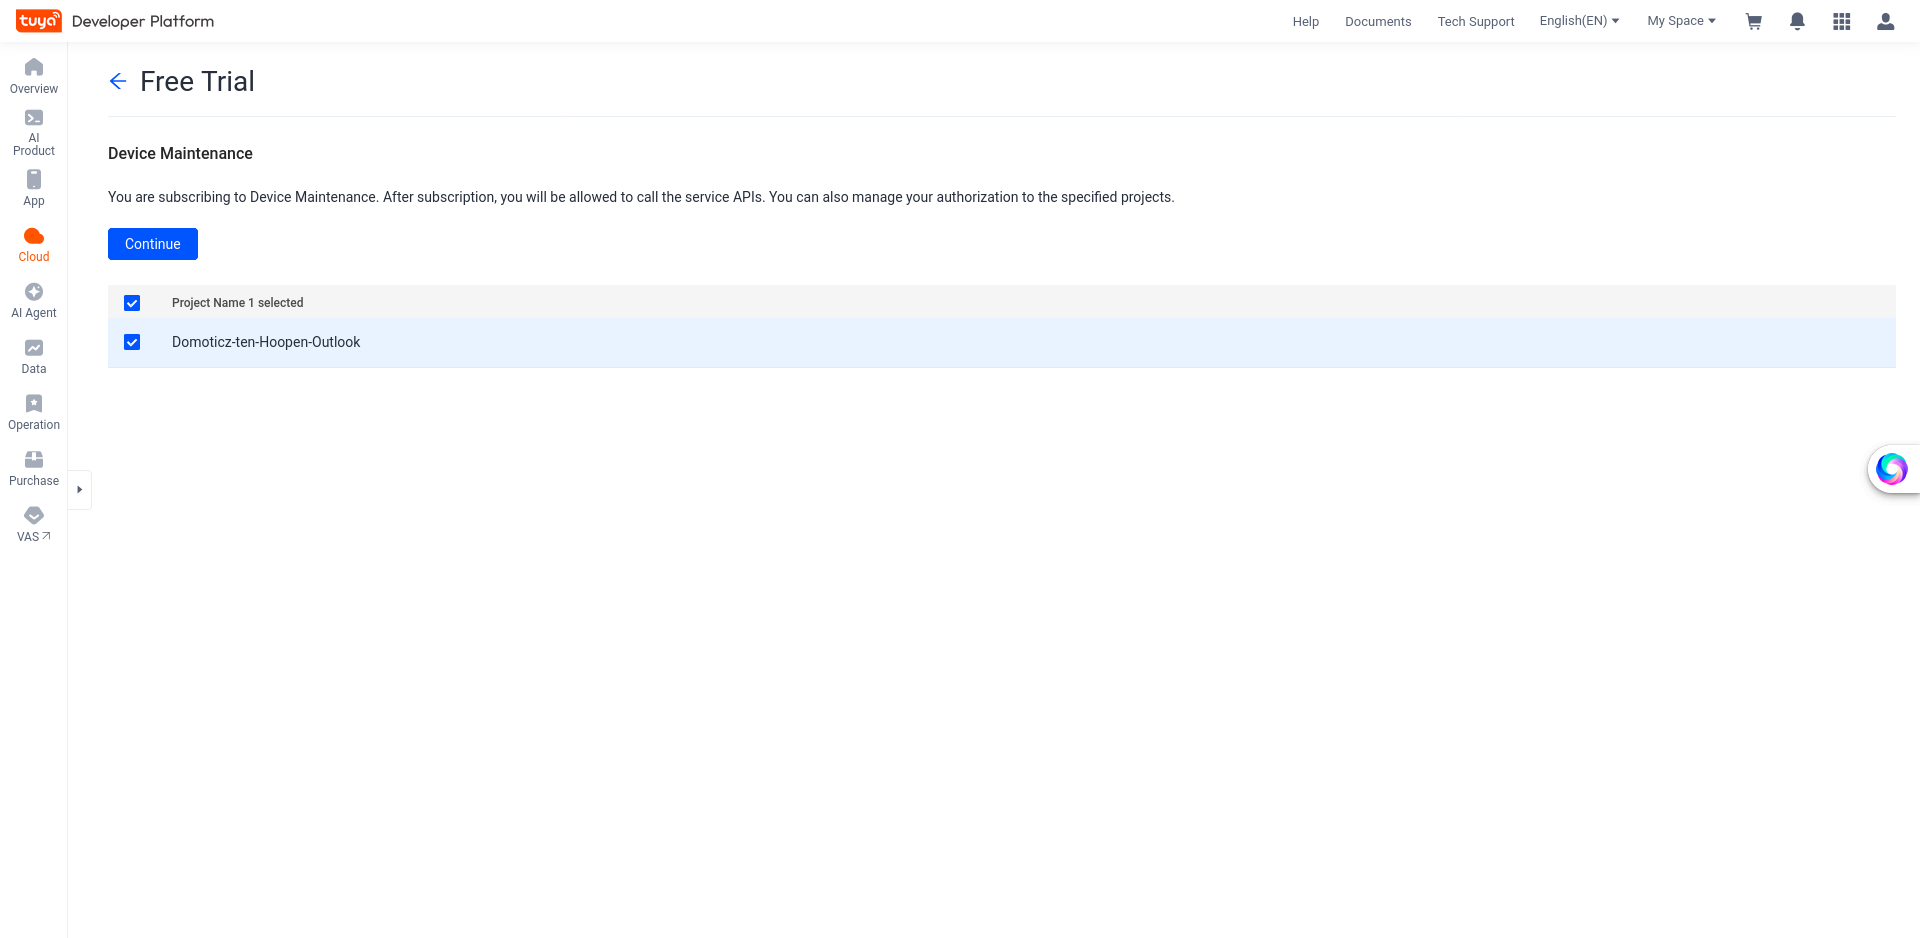
Click on [Continue]
and this will you bring back to
Now in the Device Distribution box click on View Details
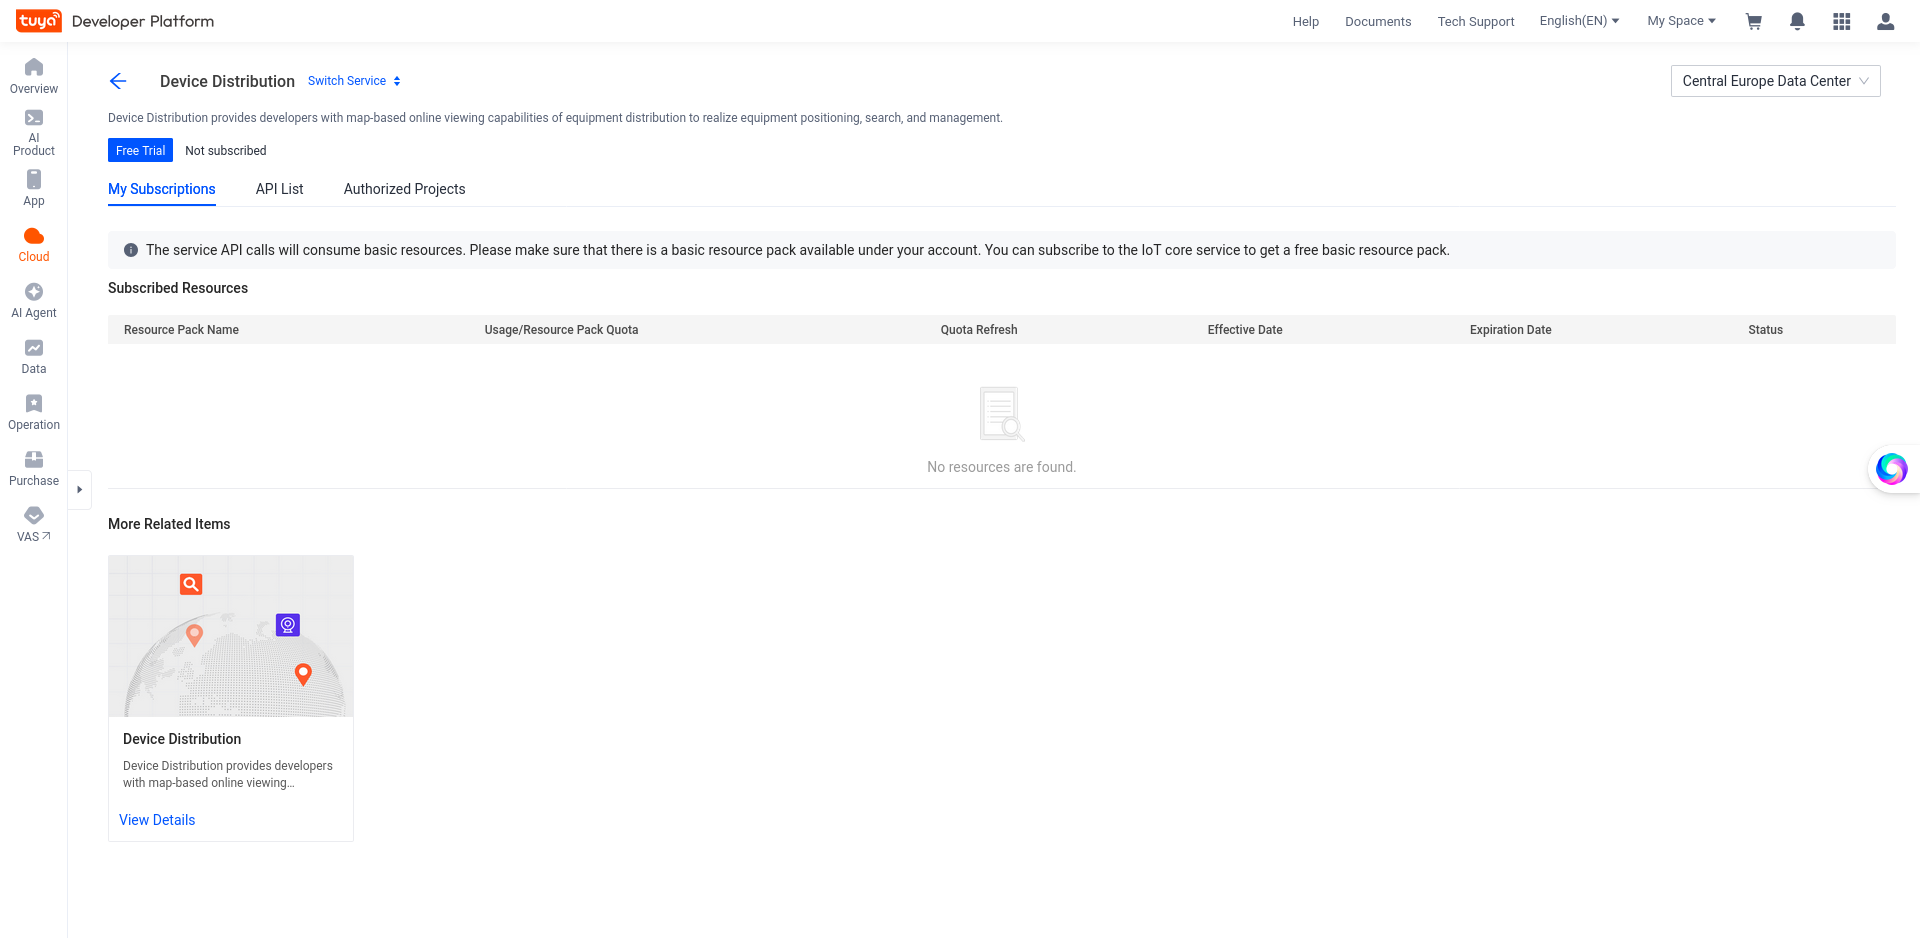
Click on Autherized Projects
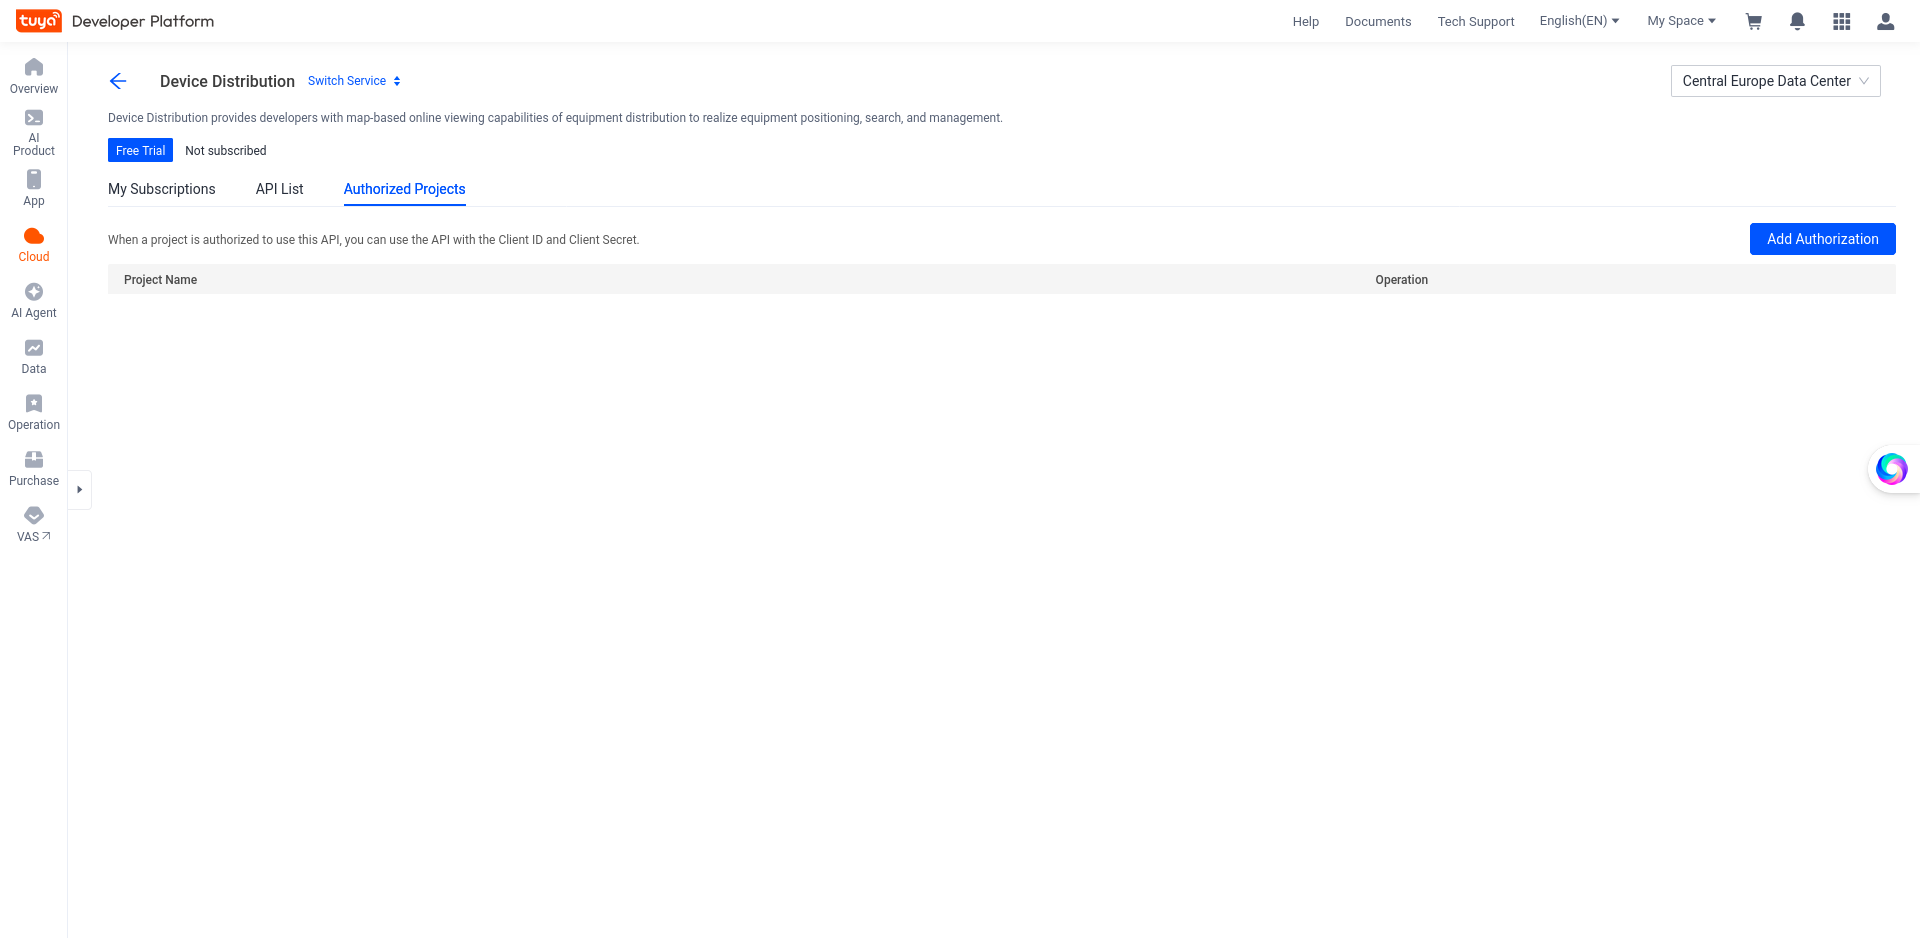
and click on [Add Authorization]
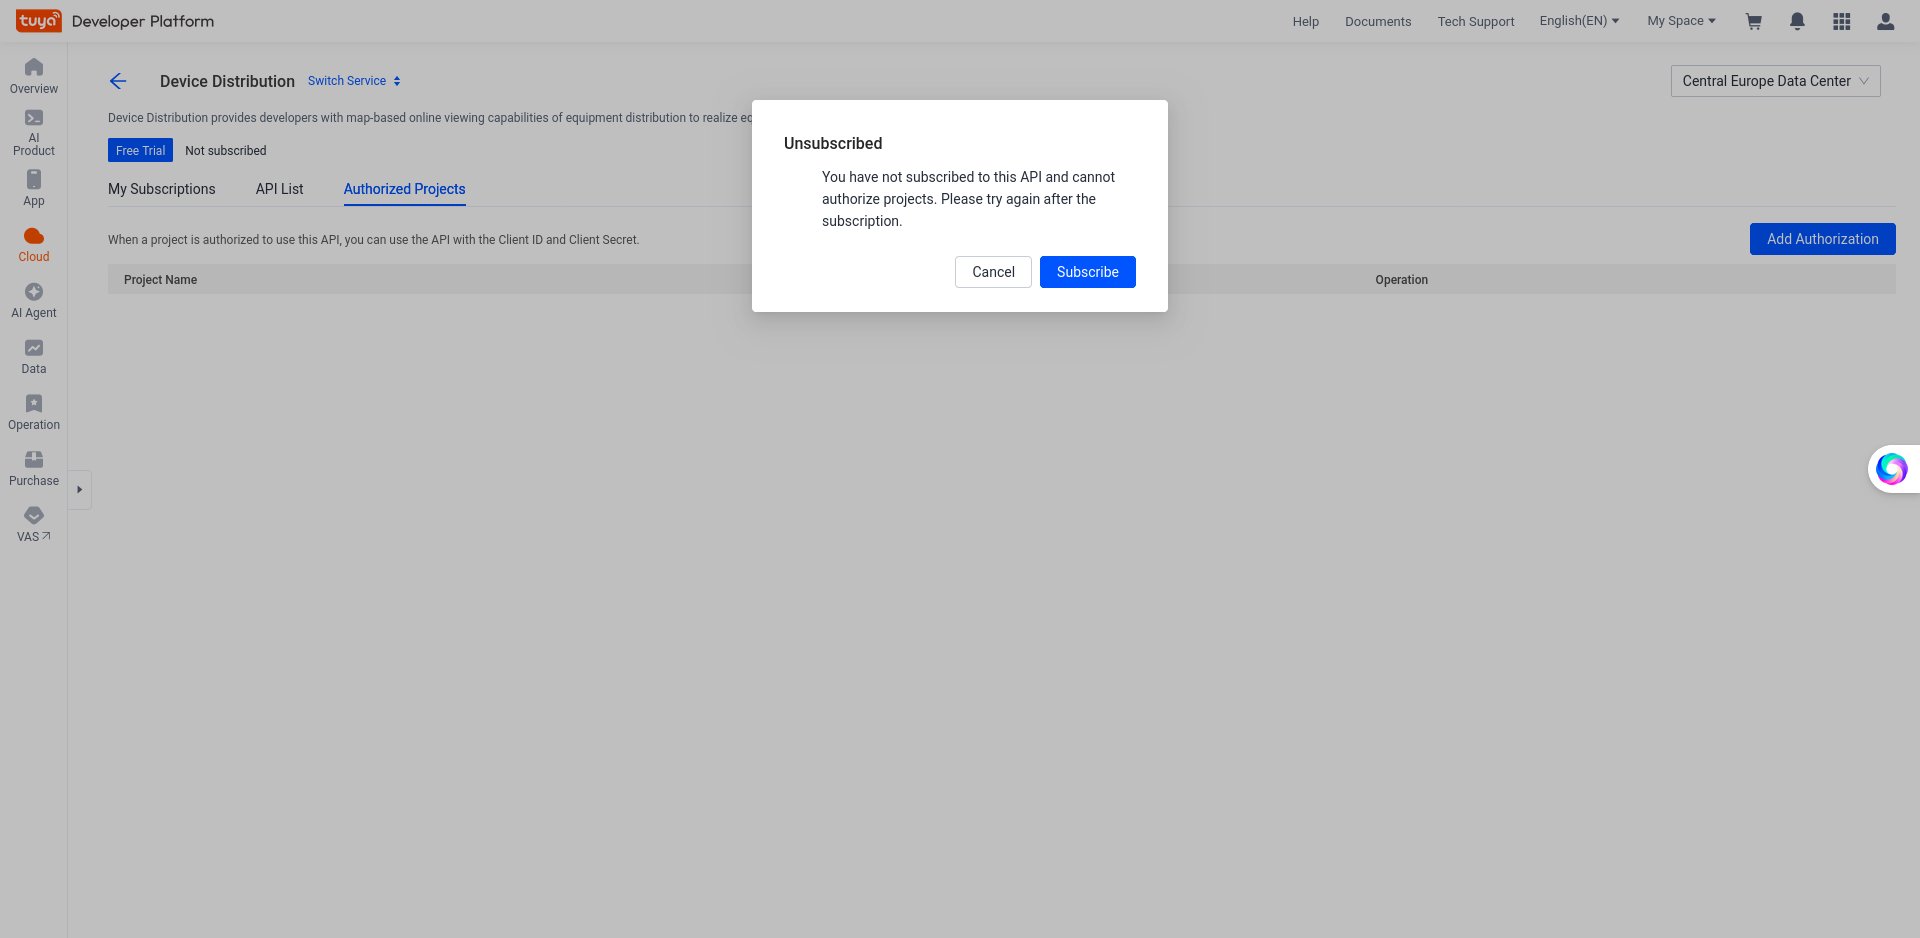
click on [subscribe]
click on [continue]
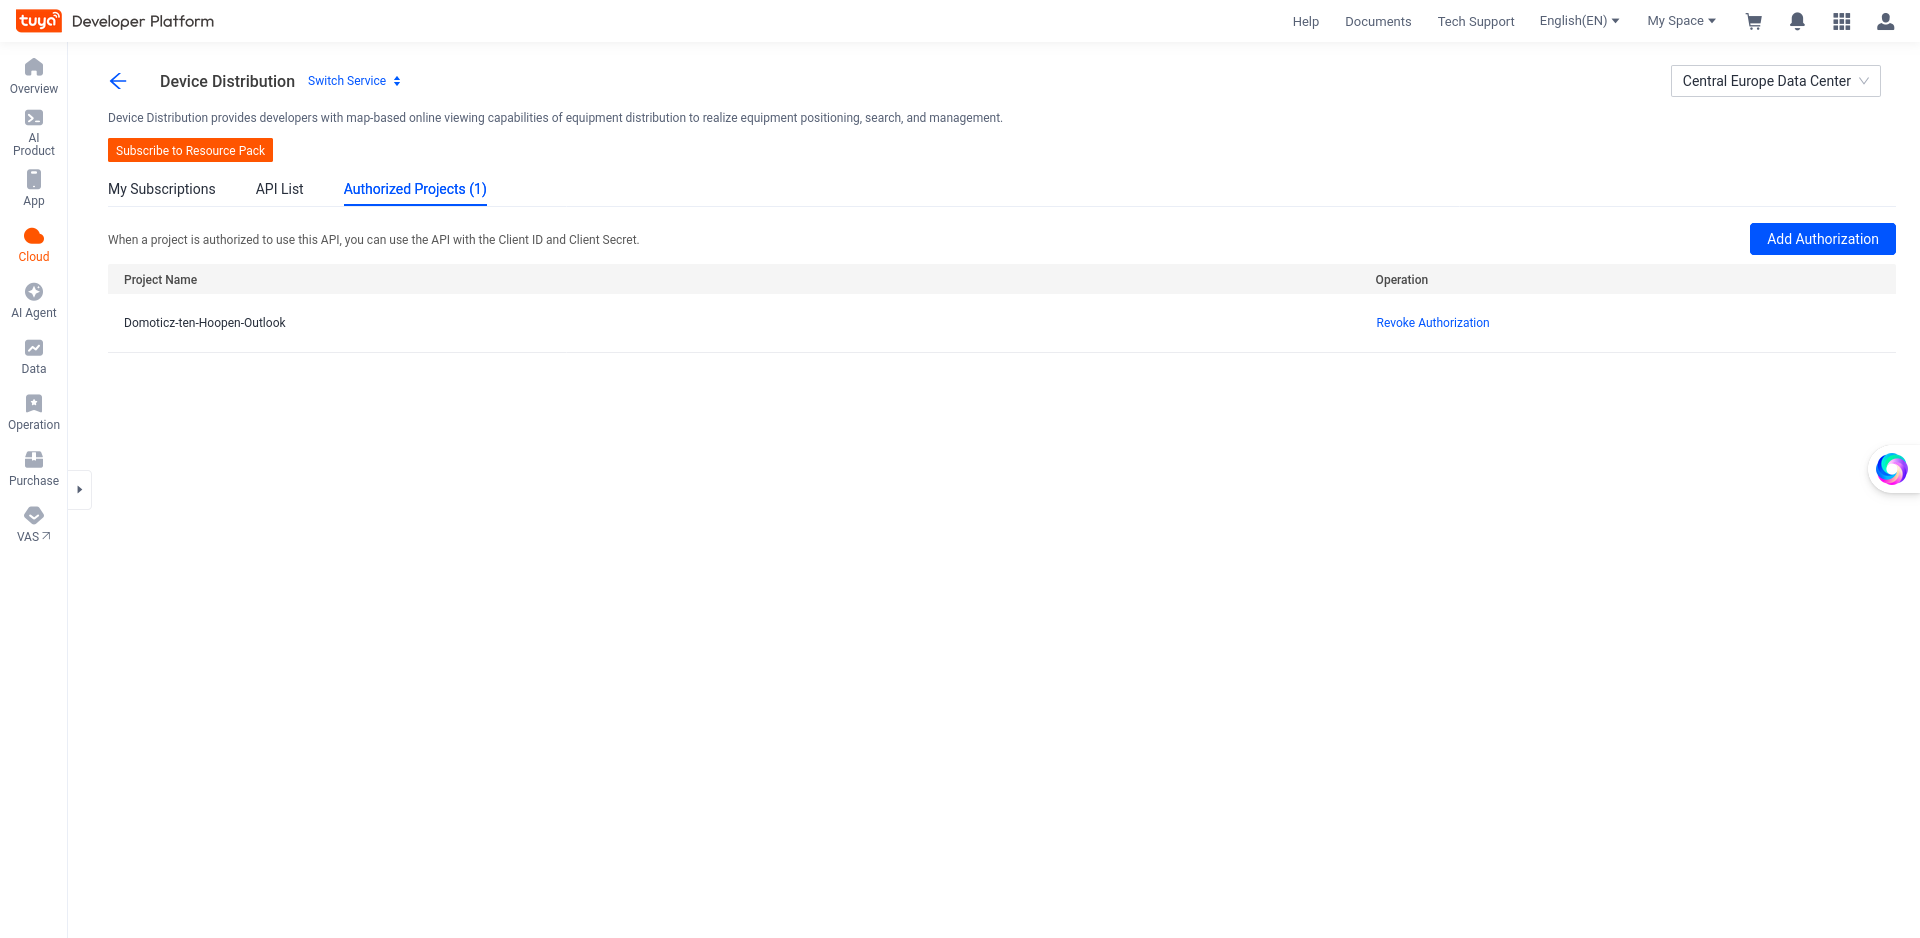
You can now use the Tuya app to add devices. These will become available in Domoticz.
There are a few special devices like doorsensors and PIR devices. To get those working there is some extra work. See https://encyclopedia.famtenhoopen.nl/tuya-doorswitch-wifi-toevoegen-aan-domoticz/
You want to know more how you will spend your credits: https://encyclopedia.famtenhoopen.nl/tuya-credits/
abc